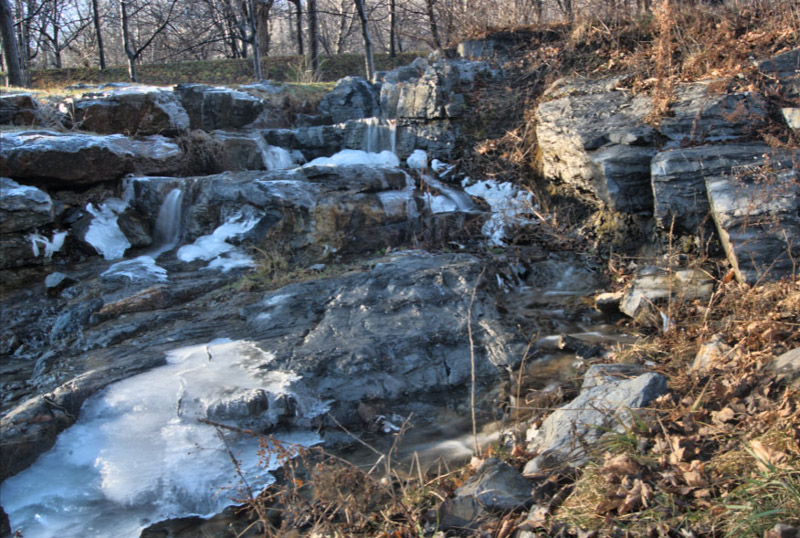
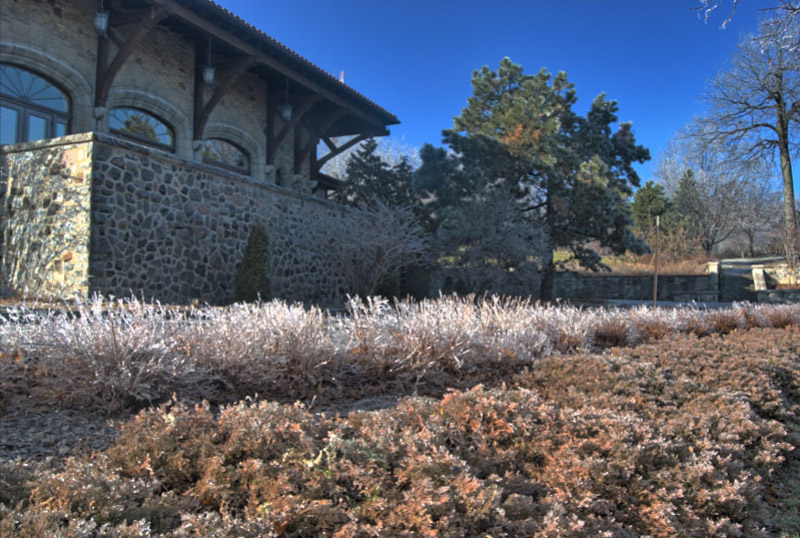
For a brief intro into how the HDR software reviews will be performed and to see the original images being used in the tests, you can do so at the beginning of the Photomatix Pro review.
Test results for HDR Photo Pro by Ever Imaging
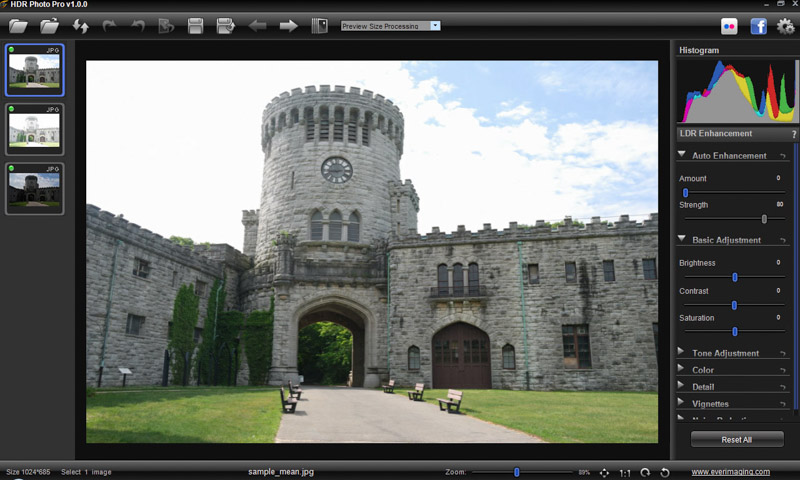
When you first open HDR Photo Pro you are presented with the following screen:
To upload your images, click on the top left folder icon and select the folder containing your images. All the images contained in the file will appear in the left panel. Simply highlight each image you want to combine into an HDR and drag to the center panel.
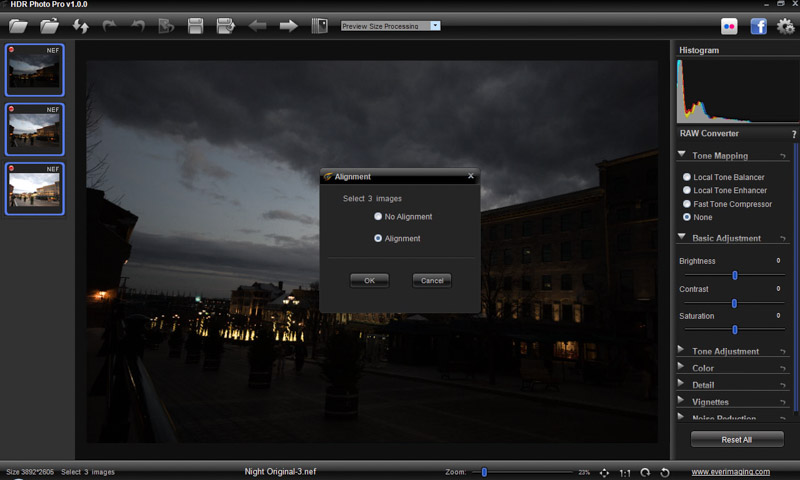
You can select to align your images if required – processing will take a little longer, but not so long that you have to go make yourself a coffee. However, there is no option to remove ghosts from your images which I found surprising for an HDR program.
As an aside, you will notice on the 3 images in the left panel screenshot above that each has a red dot that signifies these images as being 16 bit Raw files (*cr2, *.nef, *.ref etc). 8-bit LDR (Low Dynamic Range *.jpg, *.png,*.gif etc) are indicated with a blue dot, while 32 bit HDR (eg *.hdr, *.ecr) have a yellow dot.
The program will then present a tone mapped result that you can begin tweaking with the sliders on the right hand panel. Before we look at the adjustment sliders, here are the results for the 3 test images:
Unlike the previous HDR software tested, HDR Photo Pro does not present preset options, so you need to adjust the default image created from scratch. So let’s take a look at the slider options (on the right hand panel) we have for manipulating the image further:
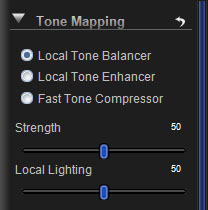
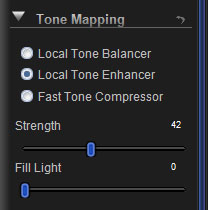
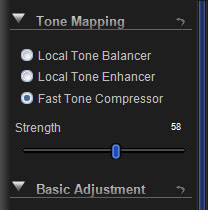
At the top there are 3 Tone Mapping engine options to select from:
- Local Tone Balancer: Used to balance tones and reveal details in highlights and shadows. This engine allows you to control the strength (contrast) and the local lighting (exposure).
- Local Tone Enhancer: Provides controls for extracting details in photos. The strength slider adjusts the local contrast in an image while the Full Light is used to boost exposures withing shadow areas.
- Fast Tone Compressor: Adjusts the global contrast of an image using a single strength slider.
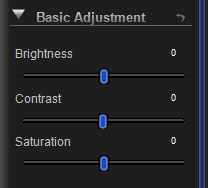
Once you have decided which engine is best for your image, you can make some additional basic adjustments (brightness, contrast, saturation) to the image globally using the sliders within the Basic Adjustment module:
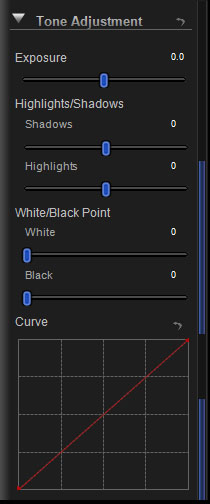
HDR Photo Pro provides a number of different options to adjust the tones in an image. Exposure will adjust the overall exposure, while the shadow and highlights sliders provide for more selective adjustments in the corresponding areas. In addition you can determine the white/black levels of your image. The curve tool allows you to create a custom curve with up to 24 tonal points in your image. One nice improvement with the curve tool would be the ability to step back changes made rather than just having the complete reset option.
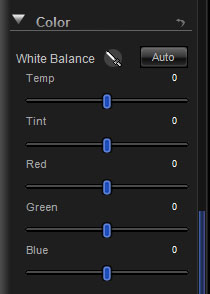
The Color module gives you a number of different ways to adjust the color of your image, including white balance, temperature, tint and RGB.
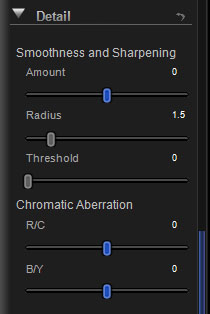
Next up, the Detail control panel. Here you can sharpen or smooth your image using the amount, radius and threshold sliders together with removing any chromatic aberration present in an image.
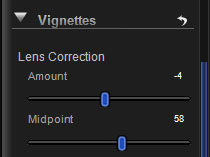
The vignetting panel allows you to remove unwanted lens vignetting (or add it if you wish).
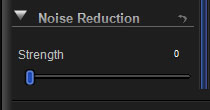
The final control is for noise reduction.
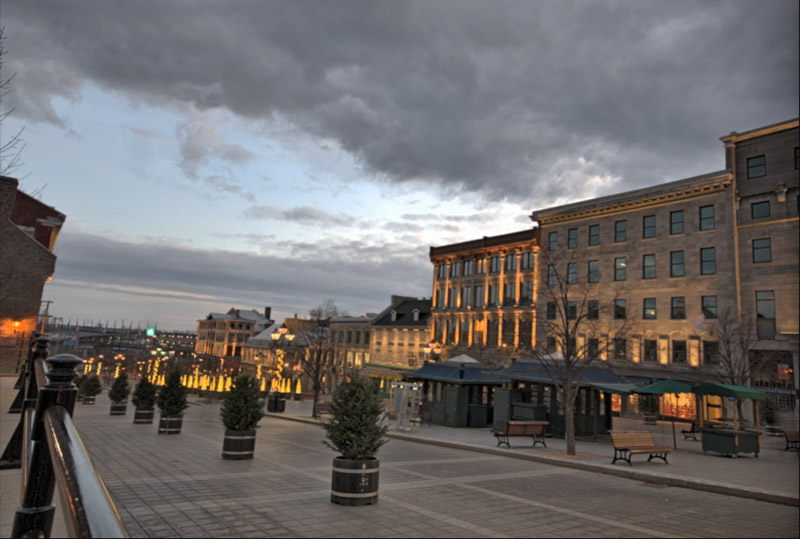
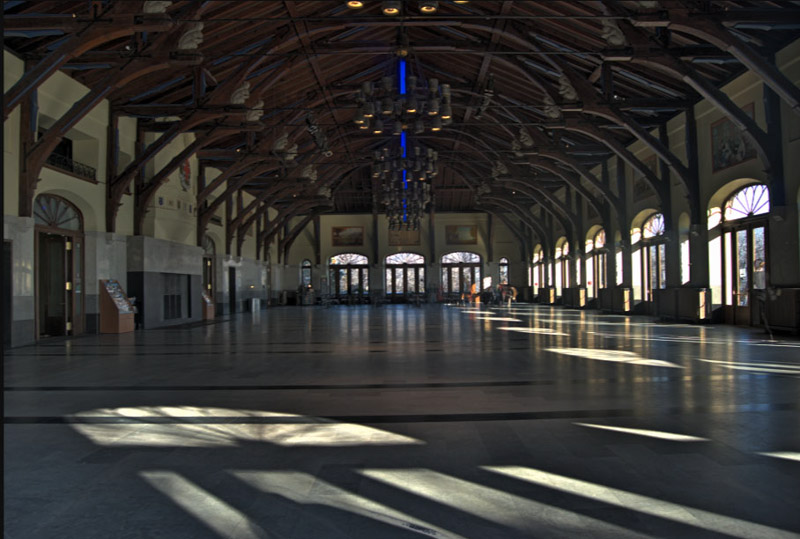
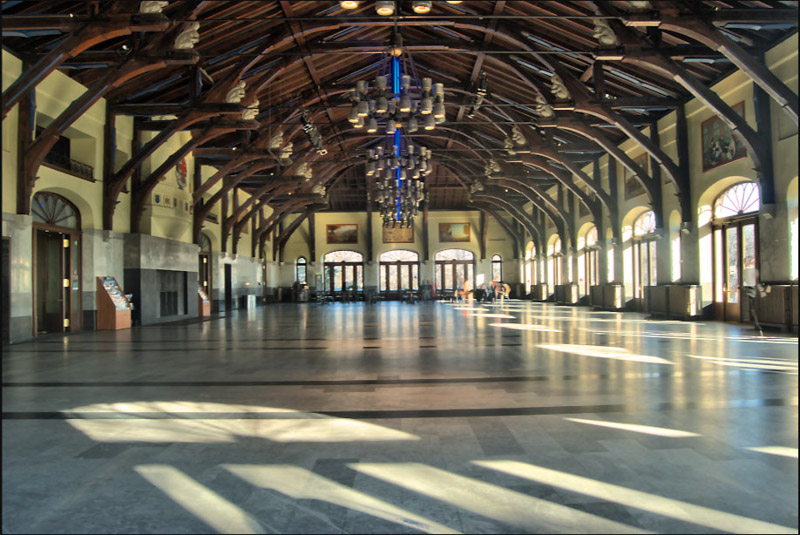
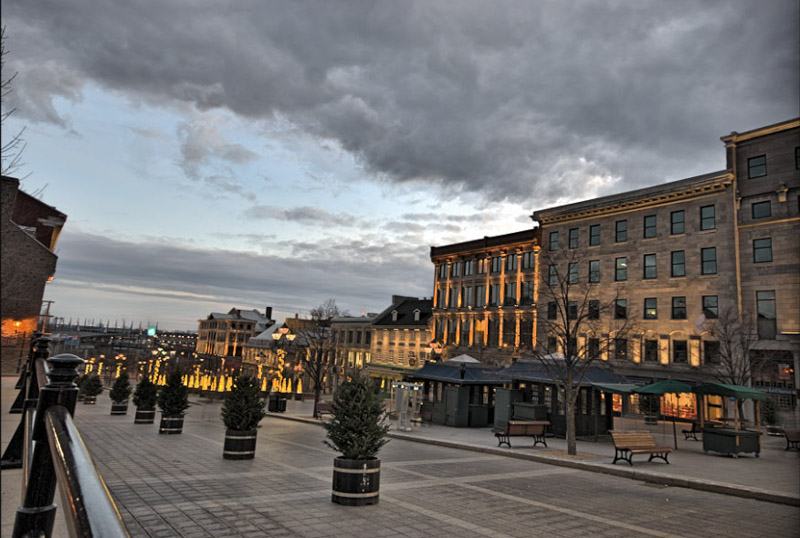
Having played with the 3 images, these are the results I produced:
As noted above, HDR Photo Pro does not provide the ability to remove ghosts, so in the interior picture we are left with the ghostly figure.
Although I was able to achieve quite a pleasing result, I wasn’t able to pull out more detail in the white cloud above the building in the center.
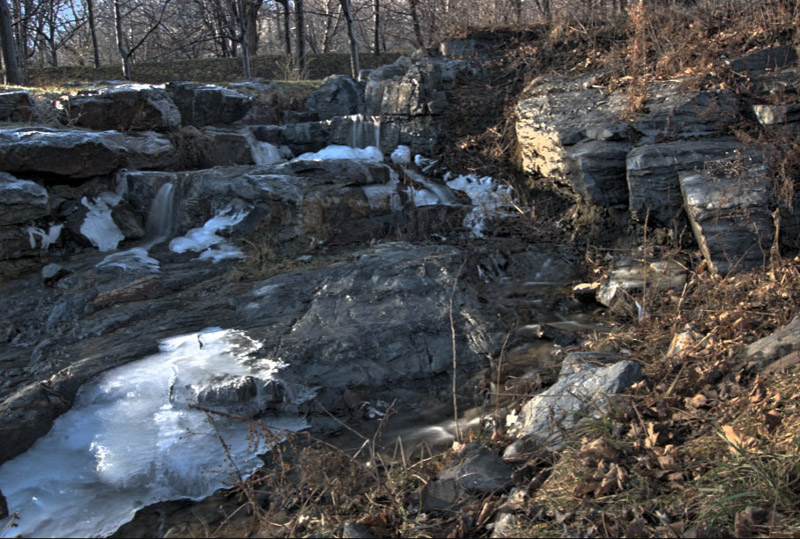
As with the other reviews, I wanted to do one last test to see how the software handled halos. As you can see from the default image produced, halos were not an issue. Particularly pleasing is the fact the sky maintained the deep blue with no halo forming around the roof or trees.
| Feature | HDR Photo Pro |
|---|---|
| Operating system compatibility | Windows |
| Stand-alone | Yes |
| plugin support | No |
| Single image processing | Yes |
| Batch processing | Yes |
| RAW file support | Yes |
| Pre-set options | No |
| Image alignment | Yes |
| Anti-ghosting | No |
| Localized Selection | No |
| Interface design | Fair |
| Help Menu/Tutorial | Yes (downloadable pdf) |
| Trial Version | Yes – full feature access, 30 days |
| Cost | 120.99USD |
Score: 7/10
HDR Photo Pro provides the ability to produce good dynamic range results and is a fairly easy and intuitive program to work with. My key complaint is the inability to remove ghosts. However, this can always be done using Photoshop or other photo editing tool that allows you to work with layers.
Another nice feature to have (particularly since there are no preset options) would be the ability to save your setting profiles.
At the time of writing, Ever Imaging had HDR Photo Pro on sale for only 29.99USD, but not sure how long this promotion will be available.
About Ever Imaging
Ever Imaging is a Swiss company based in Luzern. The company develops innovative and easy-to-use applications for digital photography, medical imaging, and other HDR related applications.
Links:
