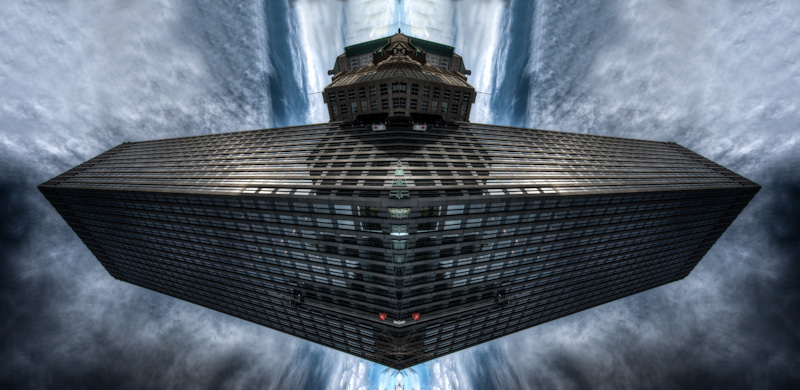
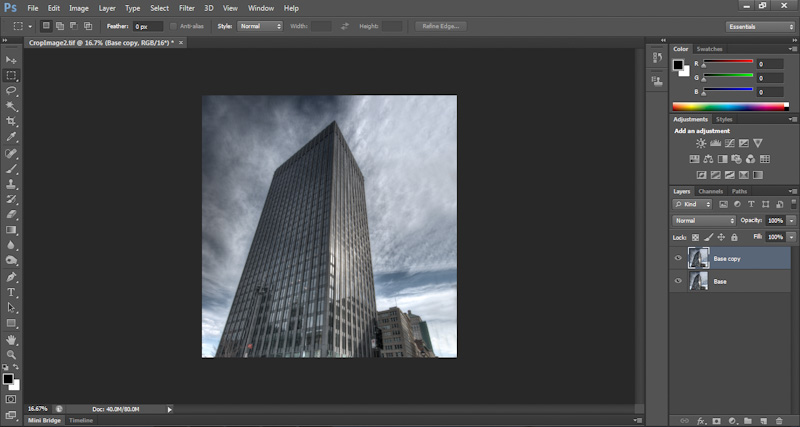
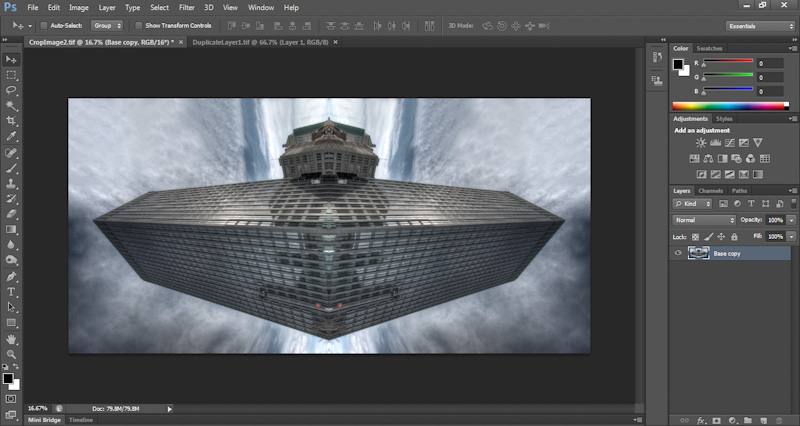
Following on from yesterday’s post featuring the results of my first attempt at doing the floating building effect, I thought I would post a quick tutorial on the steps I took to produce the following image.
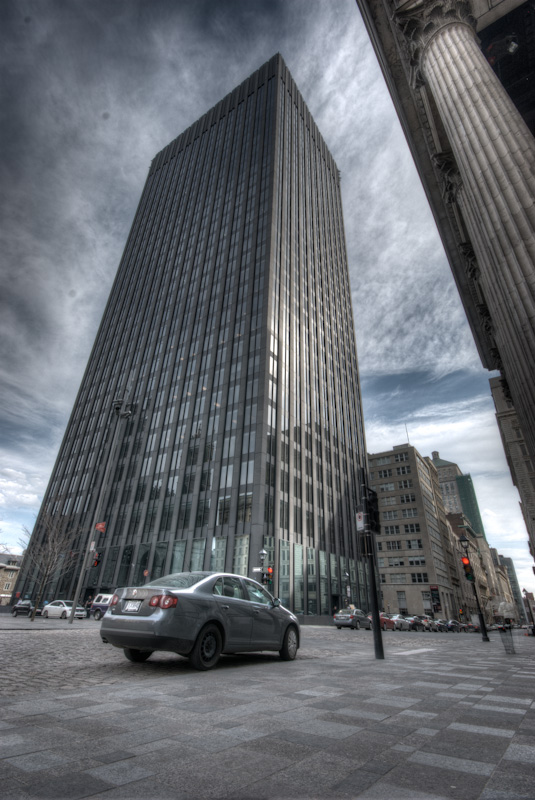
Step 1: Take your shot
The original image used for this shot was a 3 exposure HDR shot. HDR isn’t a requirement but I personally find the rich details of the buildings and clouds give the image more punch – but I guess it depends on the subject and your personal love/hate relationship with HDR.
Step 2: Crop Image
You will need a layer image editor such as Photoshop or Gimp. Adobe have CS6 on free beta trial at the moment, although with the official launch being next Monday, I’m not sure how much longer the free beta trial will be available. If you are considering getting Photoshop for the first time or upgrading from a lower version than 5.5, you may want to purchase/upgrade to 5.5 now as Adobe will automatically upgrade you to the latest version for free when CS6 is released…More info can be found over at the ProDesign Tools website.
I digress, back to the tutorial.
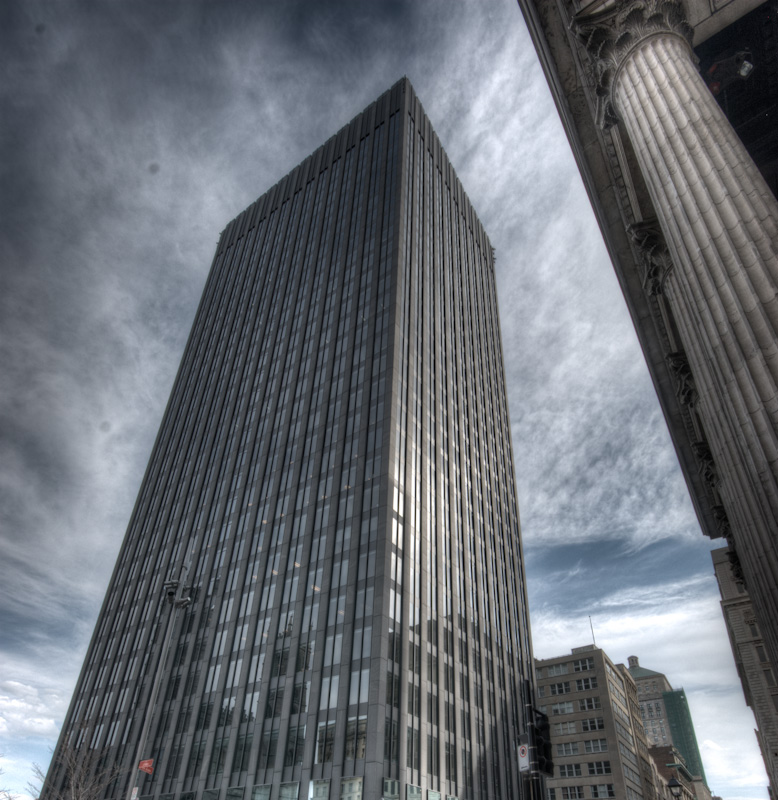
Once you import the image into your preferred image editor, the first thing to do is crop the image to a point you think will work the best. In order to have a building appear as if it’s floating you will need to have sky on at least 3 sides of the image.
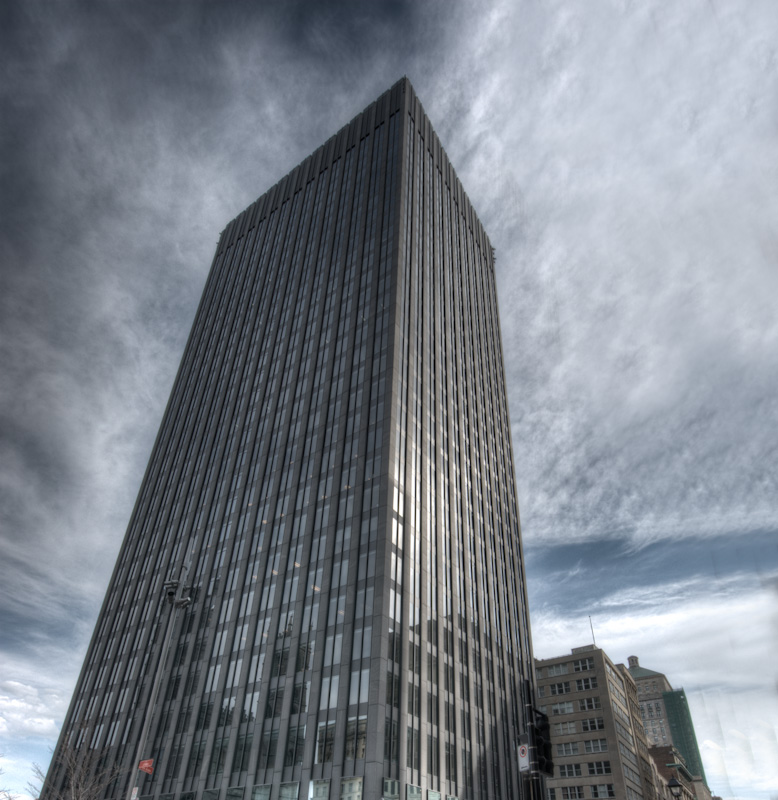
This particular image was poorly framed with the pillar on the right hand side appearing in the crop. The only option I had here was to clone out the pillar. This is hopefully a step you will be able to skip, HOWEVER, now is the time you will want to clean up any dust or imperfections, since once you duplicate you will have double the work if you don’t clean before.
Step 3: Duplicating the image
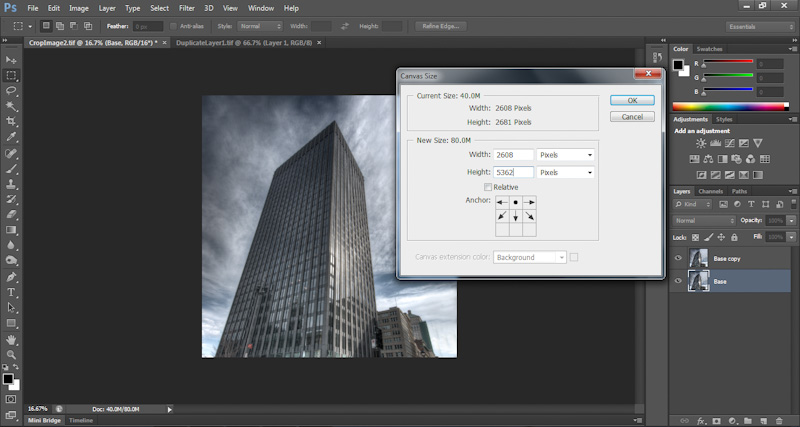
Now the fun begins. Create a duplicate layer.
Since you will be merging the 2 layers, you need to increase the canvas size. Since my building is vertical, I needed to increase the canvas height. Be sure to increase the canvas in the direction required (IE not centered) to save you moving the images more than needed.
Step 4: Flip and combine layers
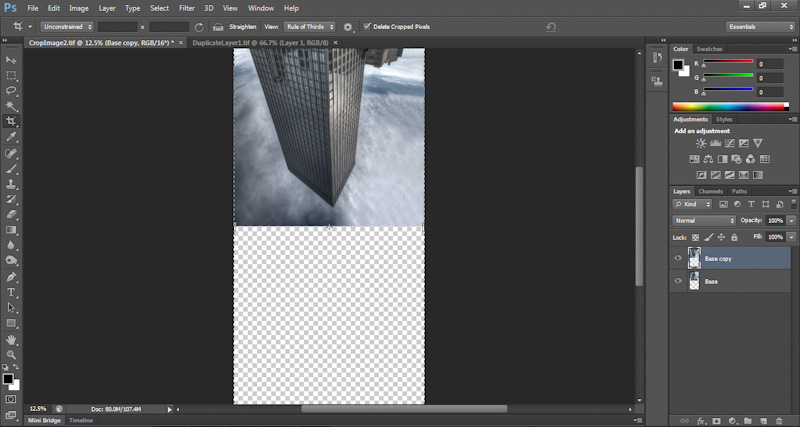
Select the copy layer and rotate by selecting Edit/Transform/Flip Vertical (or Flip Horizontal depending on the orientation of your building/canvas).
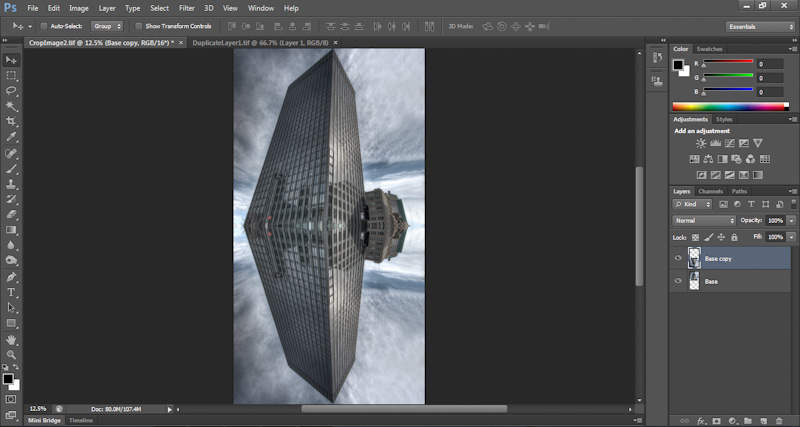
All that is left is to drag the copy layer down (or across) so that the leading edges line up on each layer.
Now you just need to merge the layers and rotate the canvas (if required) to achieve your floating building effect.
You can now work on tweaking the image such as exposure, contrast, dodging and burning etc to get to your final image.
Voila, an easy way to transform all the buildings in your neighborhood. I feel I may get addicted to this effect and if you try (or have done some already), do share your results with a link in the comments below.
If you have any questions on the tutorial, do let me know and I’ll be happy to try and answer – likewise if you have any additional tips for this technique, do share.
Thanks for stopping by. Until next time.
– Martin
