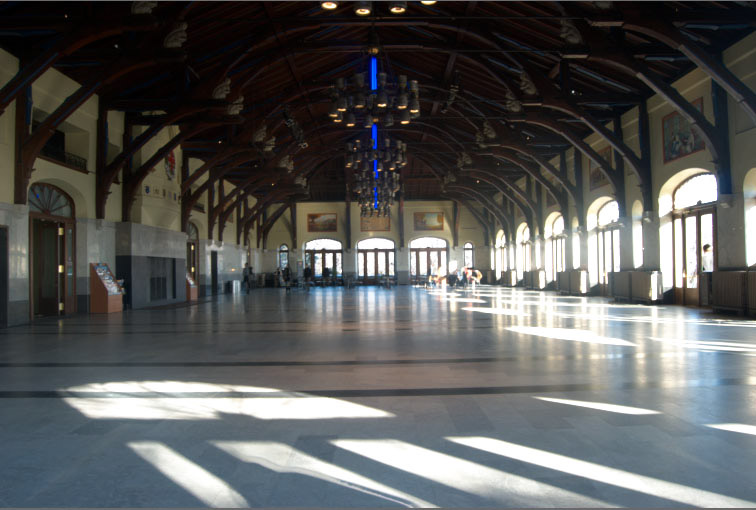
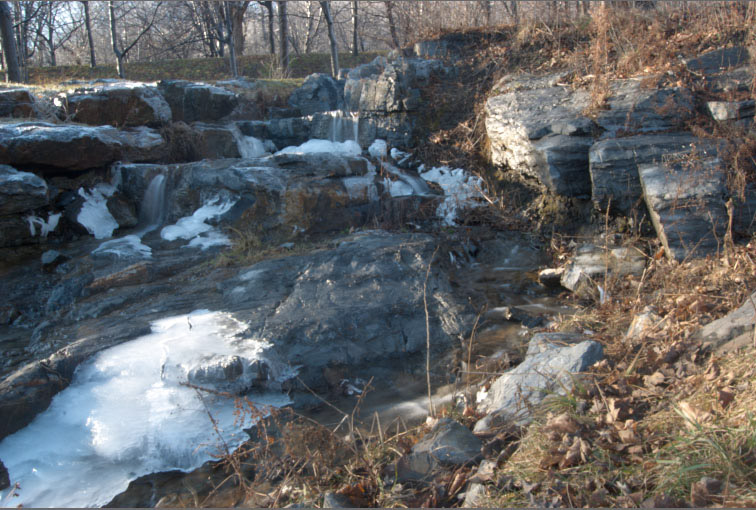
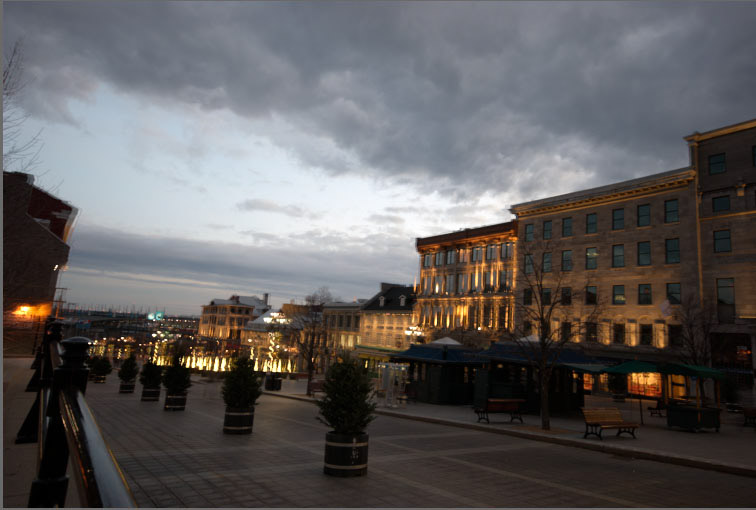
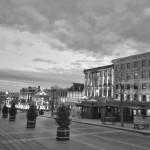
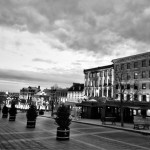
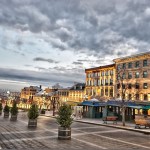
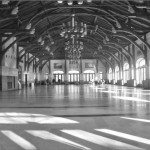
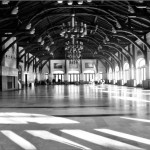
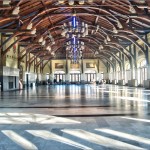
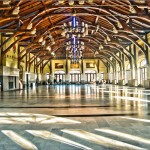
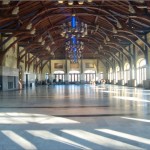
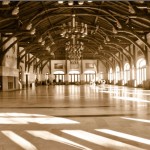
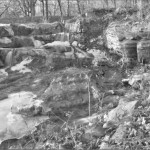
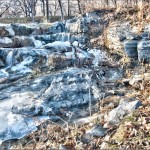
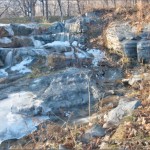
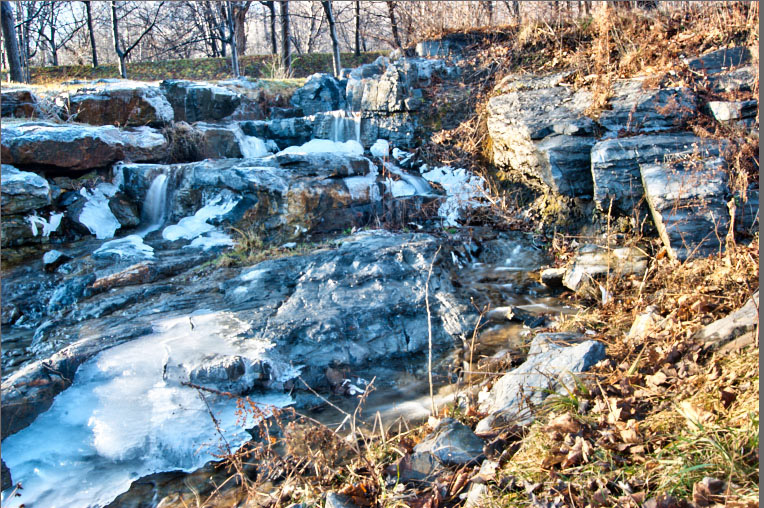
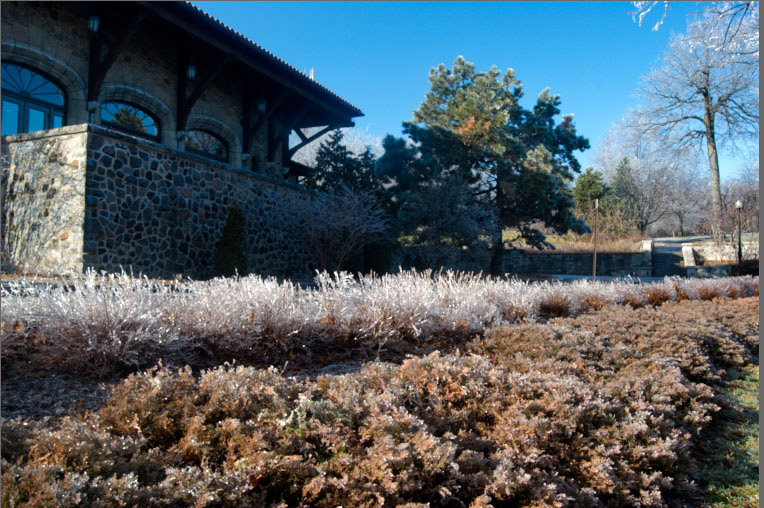
For a brief intro into how the HDR software reviews will be performed and to see the original images being used in the tests, you can do so at the beginning of the Photomatix Pro review.
Test results for HDRengine by Oloneo
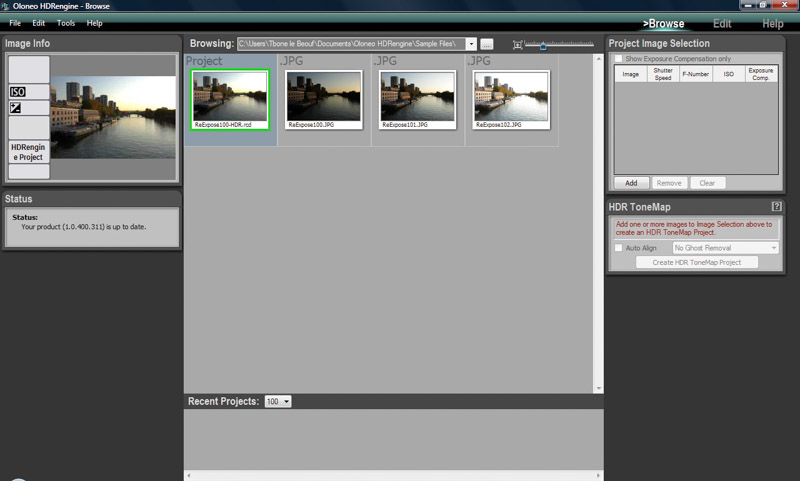
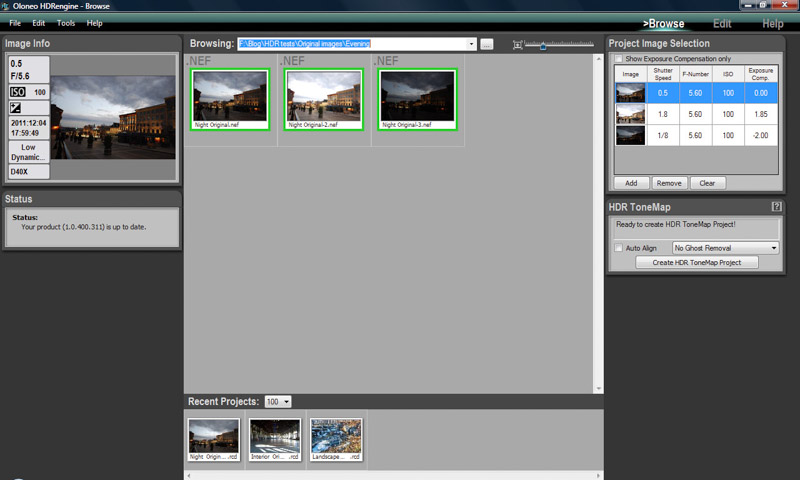
When you first open HDRengine you are presented with the following screen:
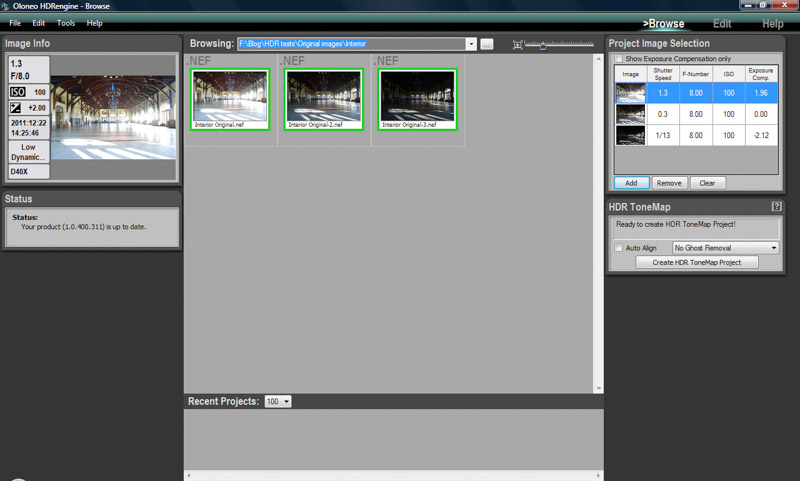
To upload images that you want to process, the easiest way seems to be to upload images into a project file and then select the file from the browsing drop down (top center of screen).
Once the images are loaded and appear in the main window (center panel), select them by clicking first image then shift key and last image (selected images will have green border) and click the add button in the top right hand panel. The images will then appear in the top right panel with the corresponding image data (exposure, f number, ISO and exposure comp). If needed you can change any of the settings by clicking on the relevant cell.
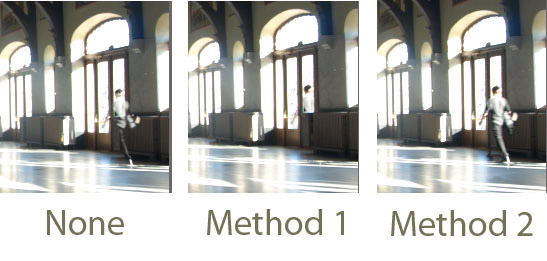
Before creating a tone map, you can select to auto align and/or remove ghosts. For ghost removal, you have the choice of Method 1 or Method 2 – Unfortunately they don’t explain what each method is, so I tried both. Method 1 did attempt to remove the main ghost image on the right hand side of the interior shot (although the persons image remains in the window highlighted area) while Method 2 didn’t seem to change anything.
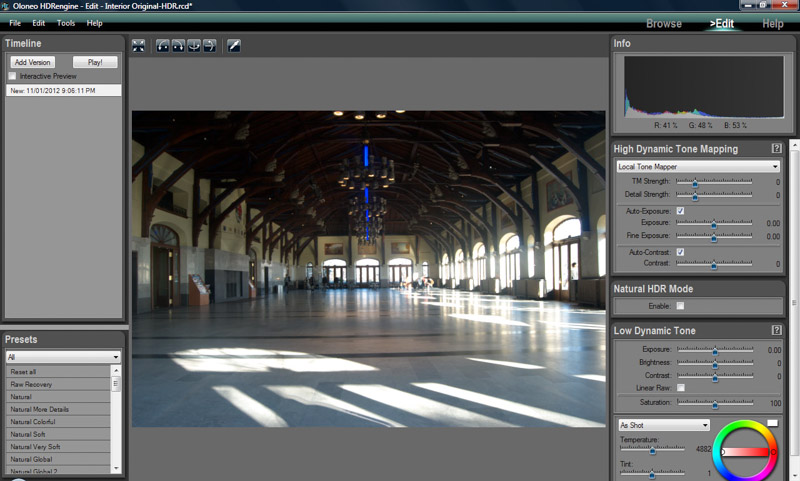
Once the images are merged, you are presented with a new screen:
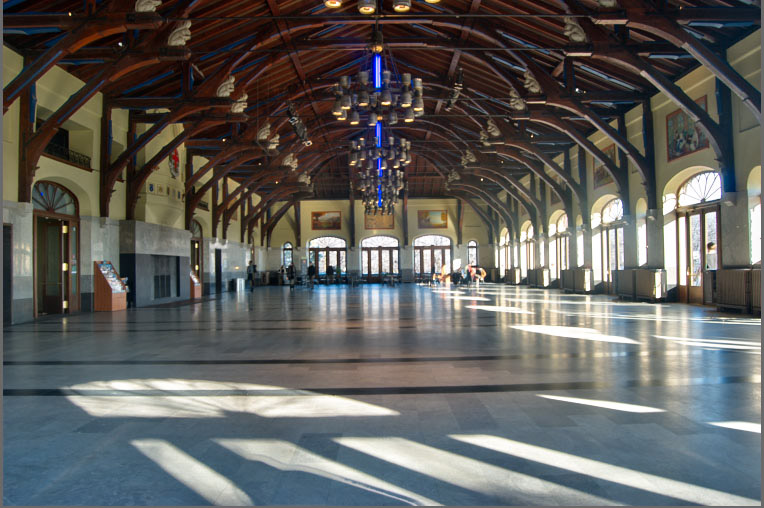
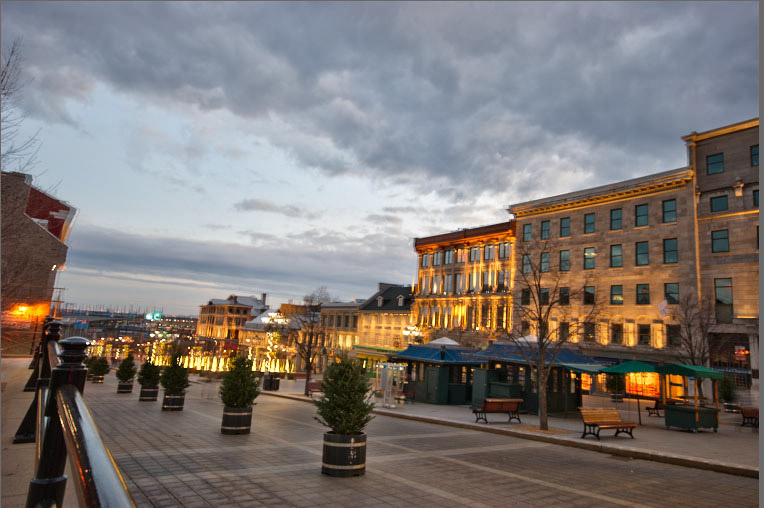
Before we get into the slider options and preset results, here are the 3 project default images HDRengine produced:
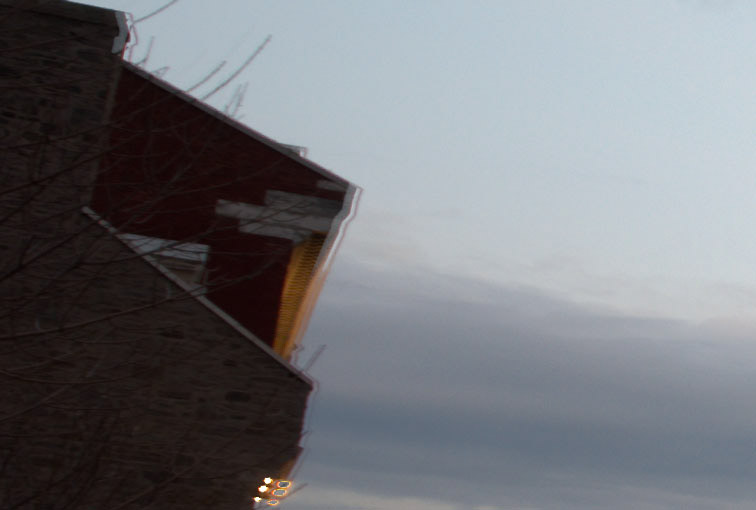
Even though each of the image 3 exposures were shot on a tripod, for some reason the evening shot became misaligned:
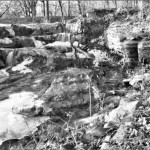
HDRengine present 40 (forty) preset options which I found to be a bit overkill and don’t plan displaying all 120 different images. Instead, I selected what I consider to be the most interesting and varied preset options produced:
- evening bw natural
- evening bw strong
- evening cold toning
- evening grunge
- evening natural recovery
- evening raw recovery
- interior bw natural
- interior bw strong
- interior grunge
- interior grunge warm
- interior raw recovery
- interior sepia
- landscape bw natural
- landscape desaturated grass
- landscape grunge
- landscape natural recovery
- landscape raw recovery
- landscape strong
HDRengine provides a number of slider options on the right hand side panel to make manual adjustments. A key feature with HDRengine is the sliders process the image in real-time, enabling you to see the results immediately. You can see how ell this works in the Oloneo help video (flash required).
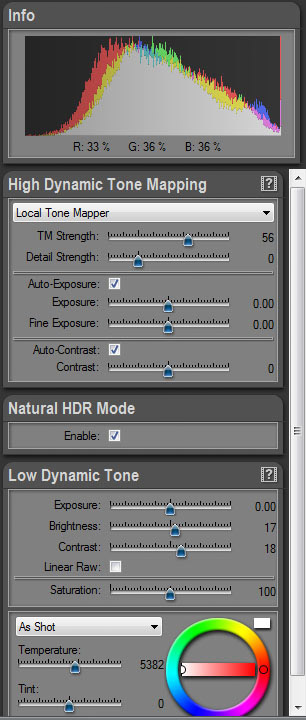
The slider options provide adjustments for the key elements such as exposure, contrast and strength of tone mapping applied. Worth noting is that the panel has 2 key sections:
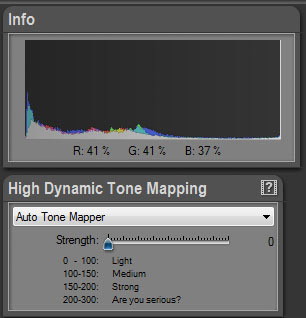
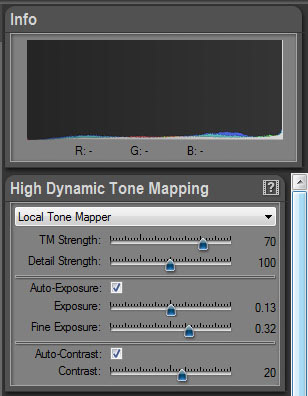
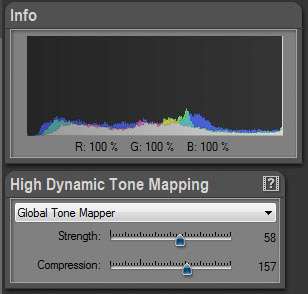
The upper part is for controlling “High Dynamic Tone Mapping” and will help with images that have blown out areas or shadows with too much black. HDRengine has 3 tone mapping engines available:
- Auto: The Auto Tone mapping engine has just one simple slider – Strength – enabling you to go from a light to a “are you serious” heavy grunge result. I like the developers humor here 🙂
- Local: Provides you with finer control over the effects. The TM Strength controls the amount of recovery in highlights and shadows, while Detail Strength controls the local contrast enhancement. Also at your disposal is manual control of the exposure and contrast of the image.
- Global: Provides 2 sliders – Strength controls the overall shadow and highlight recovery, Compression controls the exposure. Since this engine affects the image globally, the Global Tone Mapping is best for images with medium dynamic range.
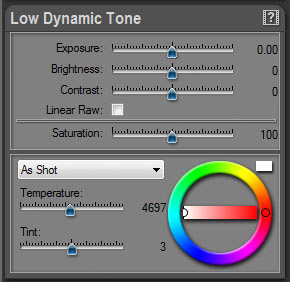
Below the High Tone Mapping panel is the Low Dynamic Tone control panel that provides you with control over key parameters: Exposure, Brightness, Contrast, Saturation and White Balance.
Below are the results after I played with all the slider options
Although none of the images resulted in problems with halos forming, I wanted to check how HDRengine handled an image that had uniform blue sky against a dark object. I was pleasantly surprised that the default image displayed had no halo formation and only by cranking up the detail strength slider past about 1/3 did halos begin to form. So I would say HDRengine does a good job unless you are going for the grunge look in your HDR images.
In addition to the real-time processing, another nice feature I found with HDRengine is that saved projects appear at the bottom of the opening page, making it easy to locate and continue working on previous projects.
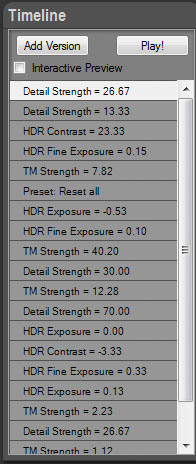
Another great feature is the Timeline that allows you to review the changes you have made, with the ability to roll back to a previous point in time – Even after saving a project. A very useful feature in my mind.
A feature that I would like to have seen would be a way to save your own personal presets. Although every image will likely call for specific individual settings, I think it would be nice to have the option to replace the 40 developer presets with your own custom preferences.
| Feature | HDRengine |
|---|---|
| Operating system compatibility | Windows |
| Stand-alone | Yes |
| plugin support | No |
| Single image processing | Yes |
| Batch processing | No |
| RAW file support | Yes |
| Pre-set options | Yes/40 |
| Image alignment | Yes |
| Anti-ghosting | Yes |
| Localized Selection | No |
| Interface design | Fair |
| Help Menu/Tutorial | Yes |
| Trial Version | Yes – full feature access, 30 days |
| Cost | 59USD |
Score: 6/10
HDRengine has some great features (real-time editing, easy access to saved projects and non-destructive timeline). Currently on sale at an introductory price of only 59 USD, it is one of the most affordable solutions currently on the market. My only reservations are the non-alignment and deghosting issue and the fact there is currently no plugin support or ability to batch process projects.
About Oloneo
The developer of HDRengine – Oloneo – was founded by 3 veterans of the computer graphics industry and is based in Paris, France. HDRengine is one of the most recent entrants into the growing HDR solutions market.
Links:
